As a long-arm quilter and owner of a quilt shop, I see a lot of quilt tops and work with many quilters on a weekly basis. Many new quilters often have questions when deciding to have a professional long-arm quilter do the quilting. In today’s article, I will discuss how to prepare your quilt for professional quilting.
Quilt Top
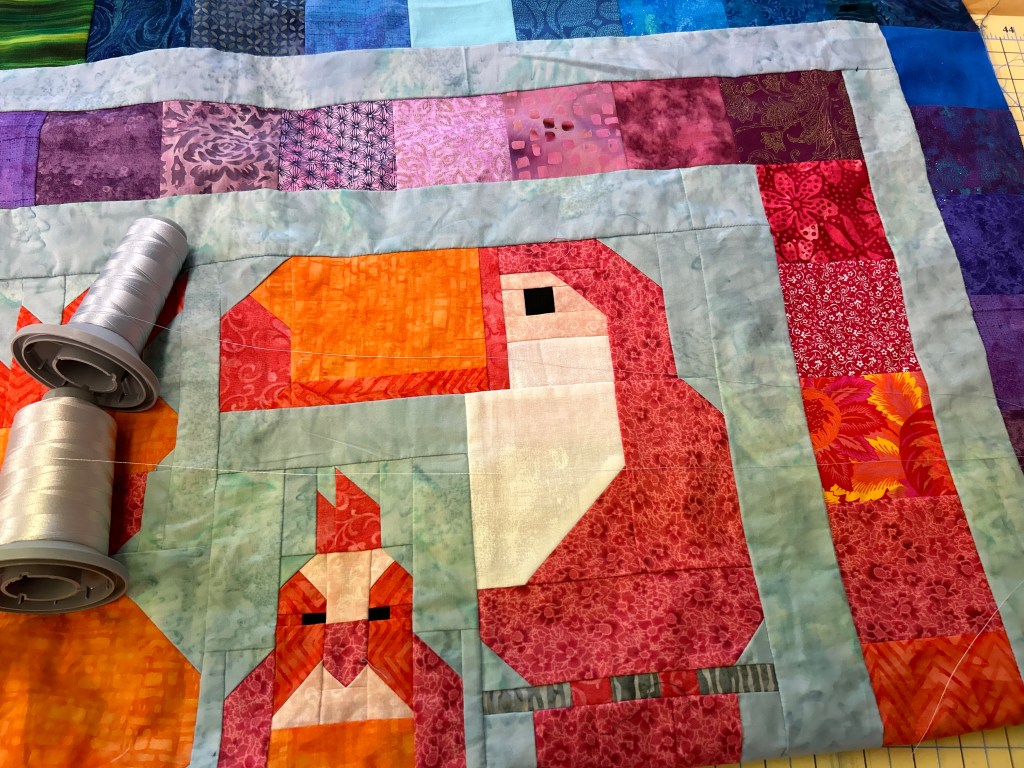
Accurate ¼” Seams are important. If your seams are not accurate, your pieces won’t fit together properly, and your quilt may end up wonky. Don’t give up though if you’re still learning! Most professional quilters can still work with those wonky quilt tops and turn them into beautiful quilts! It is a good habit to square your blocks before assembling them, and then, once the top is assembled, you may square the top by trimming the corners minimally. Make sure you check your quilt for seam breaks and make any needed repairs beforehand. Repairing a quilt after it’s loaded on the long-arm is more difficult, and even worse, the hopping foot can catch an open seam and rip the top.
When adding borders, it is essential to carefully measure the length in three places, and then cut the borders using the average of the three measurements. I recommend measuring each side about 4-6” in from the edge, then measure down the middle. After cutting to the average length, pin the border in place and ease in any fullness before sewing. If you simply sew a piece of fabric on without measuring it properly, you are going to end up with wavy borders that won’t lay flat. Trust me, you don’t want that! Especially if you have multiple borders; it just compounds the problem!
Now that your top is finished, there are just a few extra things to take care of. First, clip any loose threads, front and back. Unclipped threads can show through the top after it’s quilted, especially if you have any white areas. If you have pieced borders or blocks along the edges of the quilt top, consider stabilizing the quilt with a 1/8”-1/4” stay stitching. This will help ensure that the seams stay together while it’s being handled. If you plan to embellish your top (buttons, pins, ribbons, etc…), it’s best to wait and add these embellishments after the quilt is quilted. If you plan to have scalloped edges, you can mark the edges with the cutting line, but do not cut them until after the top is quilted. Finally, press your quilt top and fold it loosely.
Batting
Your batting needs to be at least 6-8 inches longer and 6-8 inches wider than the quilt top. Make sure the batting is cut square, so the measurements won’t be off. Discuss batting choices with your longarm quilter. At Marmie Quilting, we stock the following types:
- 80/20 Cotton/Poly Blend 120” width
- 80/20 Cotton/Poly Blend 96” width
- 100% Cotton 100” width
- Polyester high-loft 96” width
Backing
The backing needs to be at least 8” longer and wider than the quilt top for loading on the rollers and clamping on the sides. For pieced backings, trim the selvages off and use a ½” seam, pressed open. If the backing is larger than the quilt top, but not quite large enough, add muslin strips to get to the correct size and square them off. The muslin will be used to load on the rollers and clamps and will be cut off after the quilt is quilted. The muslin strips will not show on the final quilt.
Consider purchasing wide backing to save time and money. No seams! At Marmie Quilting, we stock over 140 different 108” wide backing fabrics, as well as several 90” wide cuddle soft minky fabrics. The quilt backing should be cut (or torn) square, for proper loading on the rollers. Since wide backs are folded twice on the bolts, they are often rolled wonky and will need to be torn to get a proper square piece of fabric. Press the backing and fold it loosely.
It may seem like a lot to think about, but after you’ve had a few of your quilt tops professionally quilted, the process won’t seem so daunting. In my next post, I plan to talk about the process of choosing what type of quilting to have done!
Reach out if you have any questions about having your quilt tops quilted! You can also request a quote on our website at https://www.marmiequilting.com/longarm.htm.
One stitch at a time,
Sallie aka Marmie

Leave a comment